The Plastic Face Problem: Why Your AI Portraits Look Lifeless
You open your favorite AI image generator and type in a prompt. You ask for a beautiful, realistic portrait of a person. The generator finishes its work, and you eagerly click to view the result.
Instead of a natural human photo, you see a face that looks like wax. The skin glows in a weird, unnatural way, and there are no real shadows on the face. It looks like a cheap 3D video game character rather than a real photograph.
This is a common issue that causes a lot of frustration. You can spend hours tweaking words, adding terms like "ultra-realistic" or "8k resolution." Yet, the image still looks artificial and flat.
The secret to making an AI portrait look like a real photograph does not lie in the resolution words you use. The real secret lies in the way you direct the light.
When light is flat, the AI does not know how to render depth on human skin. This is why the cheeks, nose, and eyes merge into a smooth, plastic-looking surface. It ruins the immersion and makes the portrait look fake.
To fix this, we must learn how to talk to the AI generator about light. We need to tell the system where the light comes from, how strong it is, and what color it should be.
Let us explore how to stop getting waxy faces and start generating stunning, realistic portraits with natural light.

The Simple Science of Lighting in Digital Art
Before we write a single prompt, we must understand how light works in a real photo studio. Real photographers do not just point a camera and shoot. They build a scene with different light sources to create depth.
When you create an AI portrait, you are acting as both the photographer and the lighting technician. If you do not specify the light, the AI defaults to a generic, bright, front-facing light. This default light is what makes the skin look like plastic.
Shadows are not your enemy when generating faces. In fact, shadows are the most important element for creating realism.
Without shadows, you cannot see the shape of the nose, the curve of the jawline, or the depth of the eyes. To make your portraits pop, you must actively invite shadows into your images.
By using the right terms, we can instruct the AI to construct a balanced light setup. This helps the rendering engine calculate realistic skin textures, pores, and natural skin folds.
Step-by-Step Techniques to Direct AI Light
Here are the most practical ways to guide your AI image generator to produce lifelike lighting on human skin.
Never let the AI choose where the light source is located. Always define the angle of the light in your prompt.
If you want a moody, dramatic look, ask for side lighting or split lighting. This forces the generator to light only one half of the face, leaving the other half in soft shadow.
If you want a soft, flattering portrait, ask for overhead light or 45-degree angle lighting. This mimics the natural position of the sun or standard studio setups.
The AI has trained on millions of real photos labeled by experts. Because of this, it understands professional camera and lighting terms much better than vague words like "beautiful."
Instead of asking for "good lighting," use terms like Rembrandt lighting. This term tells the AI to create a small triangle of light on the shadowed cheek, which adds instant realism.
You can also use rim lighting to highlight the edges of the hair and shoulders. This separates your subject from the background and prevents the portrait from looking flat.
Harsh light creates dark, sharp shadows that can sometimes look messy on a face. Soft light spreads out gently and creates smooth transitions between light and dark areas.
To get this soft look, include terms like soft box lighting, diffused light, or window light in your prompts. This mimics light passing through a white fabric panel or a glass window.
Soft light is excellent for showing natural skin details without making the face look oily or metallic.
Continue Reading>>
Quick Comparison of AI Lighting Styles
To help you choose the right style for your portrait, here is a quick breakdown of common lighting setups and their visual results.

Real-World Prompts You Can Test Right Now
Let us look at how to structure these prompts. You can copy these formats and swap out the details of the subject.
"A close-up portrait of an elder man with deep wrinkles, sitting in a dark room. Warm golden hour light streaming through a side window, highlighting the texture of his face, cinematic mood, 85mm lens look."
In this prompt, the phrase "warm golden hour light streaming through a side window" does all the heavy lifting. It tells the AI the color, the source, and the direction of the light.
"A professional headshot of a young woman with a joyful expression. Softbox studio lighting, clean three-point light setup, subtle rim light on her dark hair, neutral grey background."
Here, "softbox studio lighting" and "three-point light setup" prevent the generator from making the skin look overly shiny or flat.
"A dramatic portrait of a boxer. Chiaroscuro lighting, harsh key light from the left, deep shadows on the right side of the face, high contrast."
The word chiaroscuro is a classic art term that means the contrast between light and dark. AI models understand this term very well and will create a stunning, artistic portrait with rich black tones.
Common Lighting Myths in AI Portrait Creation
Many creators fall into simple traps when trying to improve their digital portraits. Let us clear up some of these common misunderstandings.
Many people believe that typing "photorealistic" or "hyper-detailed" makes the light look real. This is not true.
These words often confuse the AI or make it add too much artificial sharpness. Instead of using these buzzwords, simply describe the light sources.
Setting your image parameters to the highest quality does not change how light hits the face. A high-resolution image with flat lighting will still look like a flat, plastic render.
Realism comes from the interplay of light and shadow, not from the size of the pixel grid.
Expert Tips for Creating Natural Skin Textures
If you want your AI portraits to look so real that people cannot tell they were generated, keep these extra tips in mind.
Volumetric light is light that you can actually see in the air, like dust motes in a beam of sunlight. Adding volumetric light to your prompt creates a sense of air and space around your subject.
This prevents the background from feeling like a static, painted wall.
The catchlight is the tiny reflection of light in a person's eyes. Without this reflection, the eyes look dark, empty, and robotic.
Ensure your lighting prompt naturally creates these reflections by using words like studio softbox or ring light reflection. This small detail brings the entire face to life.
In the real world, light is rarely just one color. Try mixing different light temperatures in your prompts.
For example, you can ask for a warm key light on the front of the face and a cool blue backlight on the shoulders. This color contrast creates a highly professional, three-dimensional look.
By mastering these simple lighting rules, you can transform your AI portraits from cheap digital renders into stunning, lifelike pieces of art.
Advanced Lighting Physics in AI Art Generators
To create portraits that look truly real, we must look at how light behaves in the physical world. Real human skin is not a solid block of plastic. It is soft, organic, and reacts to light in very complex ways.
How Subsurface Scattering Changes Everything
When light hits a human face, it does not just bounce off the surface. Some of the light actually penetrates the outer layers of the skin. It bounces around inside the tissue and exits at a slightly different point.
This natural process is called subsurface scattering. It is the reason why a person's ears glow red when light shines behind them. It also gives human cheeks a warm, soft, and healthy look.
Without this effect, human skin in digital art looks like painted clay. To make the generator simulate this, you can look up guides on subsurface scattering physics to see how modern renderers handle organic surfaces.
In your prompt, you can easily trigger this effect. Use specific phrases such as subsurface scattering on skin or backlit ears with warm glow. These words tell the generator to soften the areas where light meets shadow on the skin.
The Secret of Light Bouncing and Ambient Color Casts
In the real world, light never travels in a single, isolated path. It bounces off walls, floors, and clothing back onto the subject's face.
If your model is wearing a red shirt, a tiny amount of red light will bounce up onto their jawline. If they are standing on green grass, a soft green hue will light up the underside of their chin.
Ignoring this bounce light is a quick way to make your portrait look detached from its background. To prevent this, you should always mention the color of the surrounding environment.
Try using this simple structure in your prompts:
"A portrait of a woman in a dark room, illuminated by a single warm candle, with soft amber light bouncing off her collarbones."
By adding the phrase "bouncing off," you guide the AI engine to calculate natural light paths. This helps glue your subject and the background together naturally.
Advanced Prompts for Dual Light Sources
Using two different light sources with contrasting colors is an excellent trick used by film directors. It adds instant drama and professional style to any image.
To do this, you can pair a warm light with a cool light. The contrast between these two temperatures creates rich visual depth.
This classic color scheme is highly popular in modern movies. You can achieve this by using a warm light from one side and a cool light from the other.
To see how professional artists study these angles, you can review classic tutorials on portrait lighting setups to master the correct terminology.
Here is a prompt example you can try:
"A cinematic portrait of a sailor, strong key light of warm orange sunset from the left, cool blue ambient light from the dark sea on the right."
This mix forces the generator to create realistic color transitions across the face. The warm tones will highlight the cheekbones, while the cool blue tones will fill the shadows.
Keeping Your Creative Stamina High
Working on complex digital art can take hours of focused mental energy. It is easy to get lost in front of the screen and forget about your physical health.
Just like understanding how shadows hide or highlight details on a digital face, making simple mistakes in your daily life can have unexpected results. For instance, just like making daily skincare mistakes making your acne breakouts worse, small errors in your prompt structure can ruin an otherwise beautiful AI face.
To maintain the high stamina needed for digital design, a healthy diet is key. Discovering simple ways fiber can transform your daily digestion can make those long hours at your desk much more comfortable.
Feeding your body right, such as knowing why whole foods are your liver's best natural defense, keeps your brain sharp during complex prompting sessions.
Sitting in front of a computer for hours can also slow down your metabolism, so learning how to safely start intermittent fasting can help keep your body balanced while you work.

Silent Mistakes That Instantly Make Your AI Portraits Look Fake
Even experienced creators make simple mistakes that ruin the realism of their portraits. Let us look at these common pitfalls so you can avoid them.
The Trap of Over-Brightening the Scene
One of the most common mistakes is trying to make every part of the image bright and visible. When you ask for too many light sources, you erase all the shadows.
Shadows are what define the shape of a human face. Without them, the cheeks look flat, the nose loses its bridge, and the eyes look pasted on.
If your image looks too bright, remove words like "highly lit" or "bright studio." Instead, let some parts of the image fade naturally into darkness.
Clashing Light Directions
Another big mistake is telling the AI to put light sources in places that do not make logical sense. For example, you might ask for a sunset background but then ask for bright light on the front of the face.
The AI will try to follow your instructions, but the result will look highly unnatural. The brain instantly notices when the light on the face does not match the light in the background.
Always make sure the main light source on your subject matches the brightest spot in your background.
Forgetting the Catchlights in the Eyes
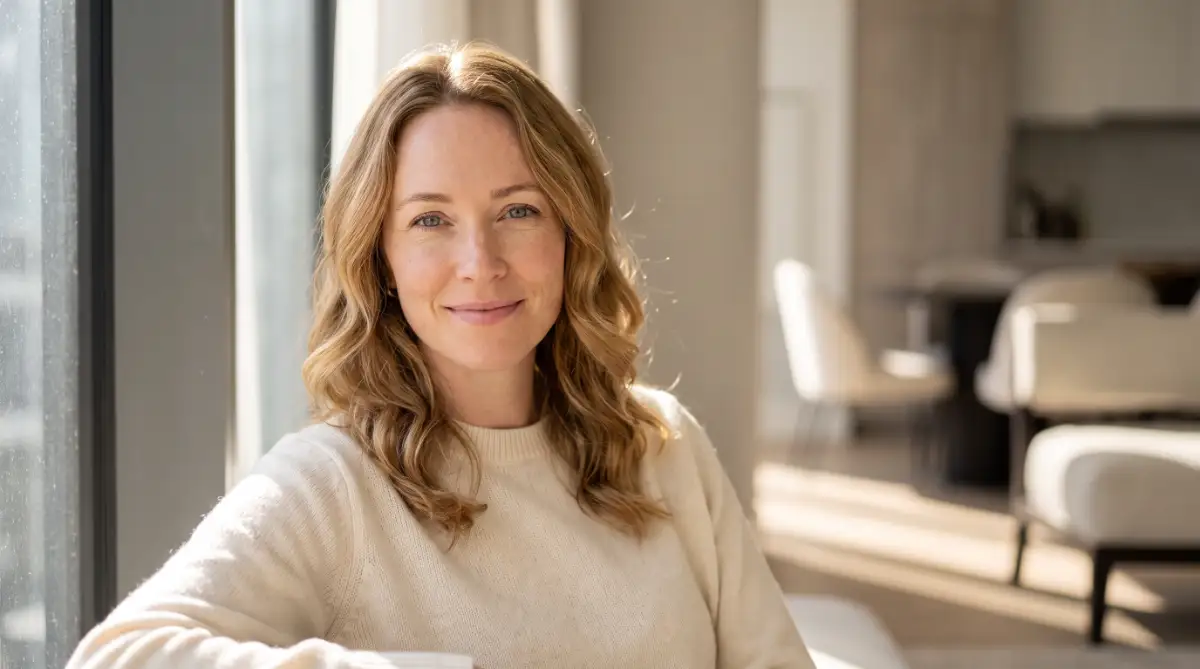
A human eye is wet and highly reflective. In real photography, you will always see a tiny bright dot of light reflected in the pupil.
If this reflection is missing, the eyes look dead, robotic, and empty. Many AI generators forget to add this tiny detail if the lighting is too flat.
You can fix this easily by adding terms like glistening eyes or reflective catchlights to your prompt. This simple addition makes the character look alive and conscious.
Your Action Plan: Practicing Cinematic Lighting Today
Now that you know the secrets of realistic lighting, it is time to put them into practice. Do not feel overwhelmed by all the technical terms.
The best way to learn is by taking small steps and experimenting with one light style at a time. Start by practicing with simple side lighting, then move on to more complex setups.
Tomorrow's Practice Checklist
- Generate a portrait using only one directional light source (e.g., side lighting).
- Try adding one cool light and one warm light to the same prompt.
- Experiment with ambient bounce light by describing the color of the floor or clothing.
- Check the eyes of your generated model to ensure they have natural catchlights.
With a little patience and practice, you will soon notice a massive improvement in your digital portraits. Your images will lose their plastic look and begin to look like beautiful, professional photographs.
Disclaimer
This article is for educational and informational purposes only. The techniques discussed are intended to help digital artists improve their prompting skills in AI image generation software. Performance may vary depending on the specific AI tool and version used.