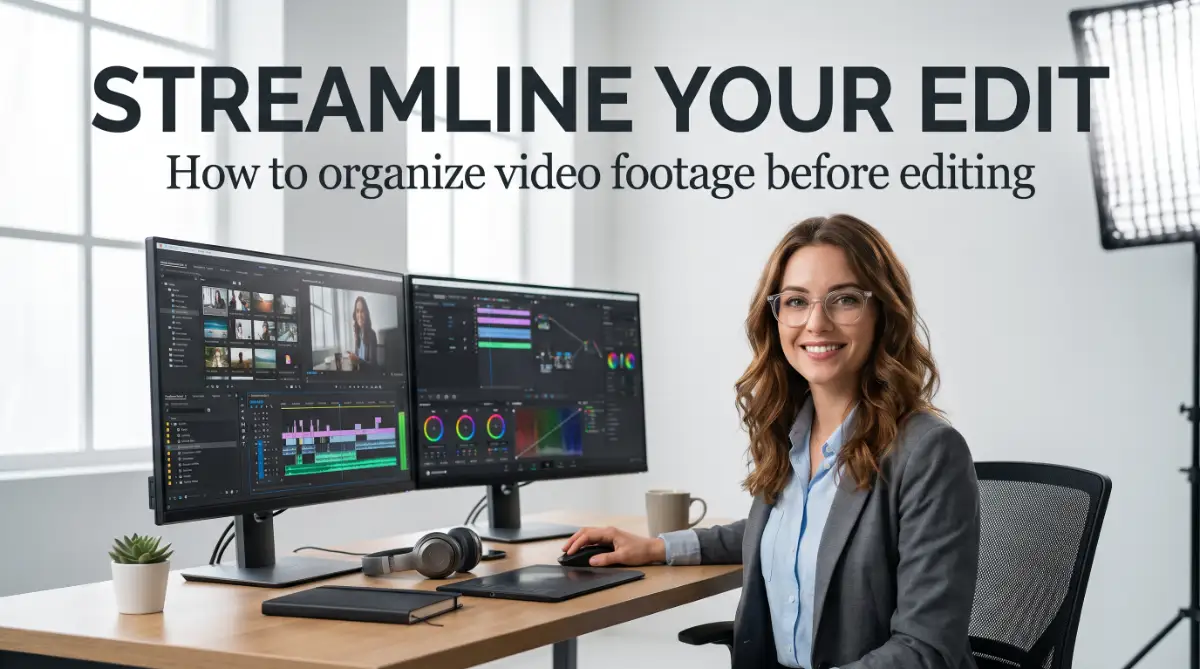
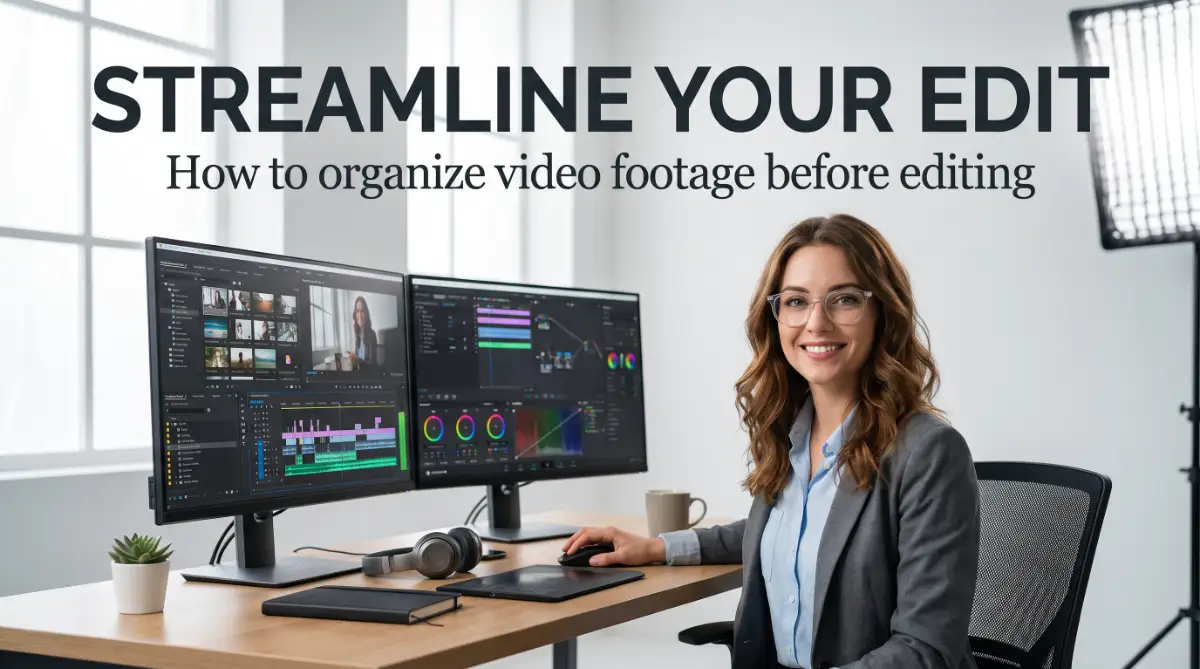
The Desktop Disaster: Why Unorganized Footage is Slowing You Down
Imagine sitting down to edit your next big video project. You have a great idea in your head and your favorite warm drink on your desk.
But when you open your computer, the excitement quickly turns into stress. You face hundreds of files named "DSC_0043.MOV" or "Project_Final_v2_new."
You waste thirty minutes just looking for that one five-second clip of your subject smiling. Your desktop is covered in random files, and your computer fan is screaming.
That creative spark you had just a moment ago starts to fade. Your energy levels drop before you even make your very first cut on the timeline.
This is the silent creativity killer that many video editors face every single day. Without a clear plan, editing stops being fun and starts feeling like a painful chore.
When your workspace is messy, your mind feels messy too. You end up making mistakes, losing files, and missing your upload deadlines.
The good news is that you do not need to live with this digital chaos. A few simple changes to how you handle your media can completely change your creative process.
Let us look at how you can take control of your media assets right now. You will save your time and keep your mental peace intact.
The Master Folder System: Building Your Digital Production House
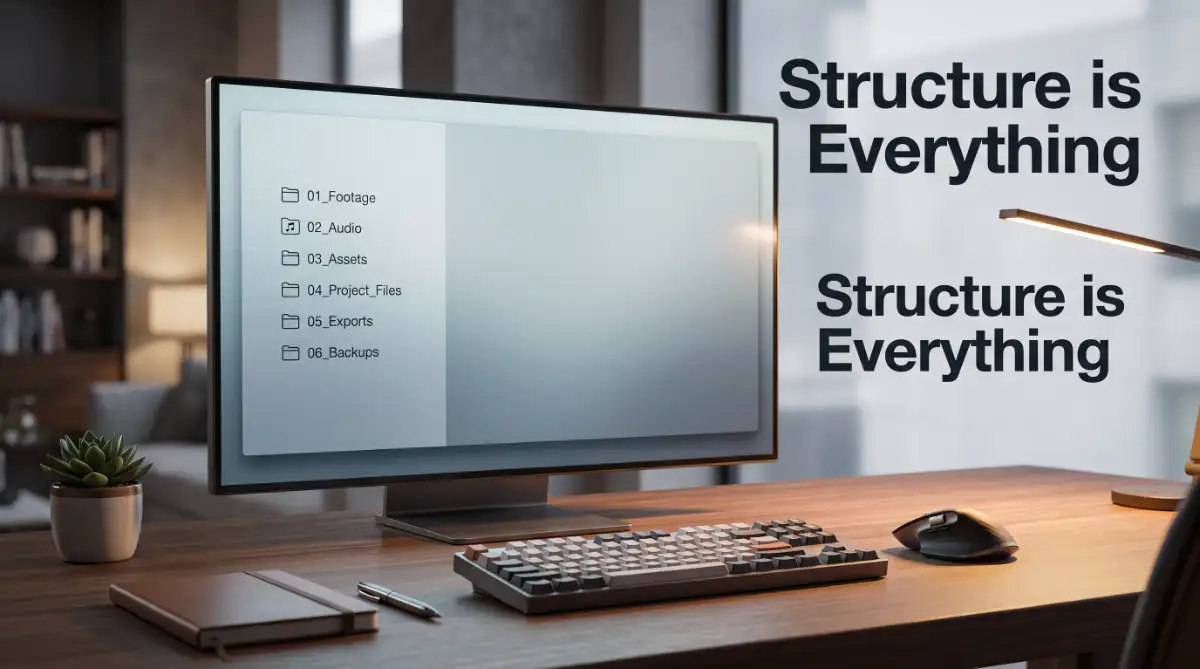
The very first step to a stress-free edit starts before you even open your editing software. You need a permanent home for your project files on your hard drive.
We recommend creating a Master Folder Template that you can copy and paste for every new project. This keeps your files in the exact same place every single time.
Here is a simple, highly effective folder structure that professional editors use to keep things neat:
- 01_Project_Files (For your Premiere, DaVinci, or FCPX project saves)
- 02_Footage (For all raw video clips straight from your cameras)
- 03_Audio (For voiceovers, sound effects, and background music)
- 04_Graphics (For logos, lower thirds, and motion graphics templates)
- 05_Exports (For your rough drafts and final video files)

When you use this setup, you never have to guess where a file lives. If you need a sound effect, you know it is inside the 03_Audio folder.
This simple structure keeps your computer organized and prevents your software from losing linked media. If your editing program knows exactly where to look, it will run much smoother.
The Golden Rule of File Naming
Leaving your files with their default camera names is a major mistake. Names like "IMG_9821.MP4" tell you absolutely nothing about the content of the clip.
Instead, rename your files using a clear, consistent format that describes the shot. A good system is to use the format: [Date].
For example, rename a clip to "Oct12_CoffeeBrew_Broll_01.MP4" instead of leaving it as random letters. This makes searching for specific shots incredibly fast and easy.

Smart Importing: Setting Up Your Editing Software Workspace
Once your hard drive is organized, it is time to bring those files into your editing software. Do not just drag and drop everything into one giant pool.
You must mirror your hard drive folder structure inside your editing program using Bins (which are just digital folders). Create identical bins for footage, audio, and graphics.
Most professional programs like Premiere Pro or DaVinci Resolve allow you to import entire folder structures at once. This saves you from creating bins manually every time.
Organizing with Color Labels
Once your clips are inside the bins, use color labels to group them visually. This is an absolute game-changer for speed editing.
You can color-code your A-Roll (main talking head footage) as green and your B-Roll (supporting footage) as blue. Your audio tracks can be labeled yellow for music and teal for sound effects.
- Green: Main Interview / A-Roll
- Blue: B-Roll / B-Roll Footage
- Yellow: Background Music Tracks
- Orange: Sound Effects (SFX)
- Pink: Graphics and Text Elements
When you look at your timeline, you will instantly see the structure of your video just by looking at the colors. You will not have to play a clip to remember what type of media it is.
Myth vs. Reality: The Truth About Footage Prep
There are many misconceptions about how video editors should prepare their media. Let us clear up some common myths that might be slowing you down.
Myth 1: "I will organize my files later while I edit."
- Reality: This actually doubles your editing time. Every time you stop to find a file, you break your creative flow state and lose momentum.
Myth 2: "Keeping everything on my desktop is faster."
- Reality: A cluttered desktop slows down your operating system. It also increases the risk of accidental file deletion and broken links in your project.
Myth 3: "Organizing files is only for big, expensive projects."
- Reality: Even a simple sixty-second social media reel benefits from organization. Developing good habits now prepares you for larger projects in the future.
Metadata and Rating: Selecting Your Best Takes
Not every shot you record is going to be used in your final edit. Some shots will be blurry, others will have bad audio, and some will just be mistakes.
Before you start cutting, go through your footage and rate your clips. Most editing software lets you add stars or keywords to your media.
As you preview your files, tag the best takes with a "Good" label or a five-star rating. You can mark unusable clips with a red label or delete them from your project entirely.
This process is called stringing out or selecting. It keeps you from wasting time looking at bad takes when you are trying to build your story.
You can also use the metadata panel to write short notes for your clips. For example, you can write "Good expression at 02:15" in the comment section.
These small notes act as a map for your future self. When you are deep in the edit, you will thank yourself for leaving these helpful signposts.
Pro Tip: Create a Blank Project Template
To save even more time, you can create a blank template folder on your computer. Set up all your standard folders and project structures once.
Name this master folder "_Project_Template" and keep it empty. The next time you start a new edit, simply copy this folder, rename it, and start importing.
This reduces your setup time to under ten seconds. It guarantees that every single project you create uses the exact same layout.
You can even save a template project file inside this folder. Have your favorite transition effects, audio tracks, and adjust layers pre-loaded and ready to go.
This level of preparation keeps you focused on what actually matters: telling a great story through your video. You can spend your energy on the creative cut, not on hunting down missing files.
Mastering Advanced Media Workflows and Speed Optimizations
Once you have your basic folders set up, you can start using advanced techniques to make your editing even faster. These are the same methods that big Hollywood studios use to manage massive amounts of media.
If you are working with large 4K or 8K camera files, your computer might start to lag. This slowdown happens because high-resolution files require a massive amount of processing power to play back smoothly.
To solve this issue, you should start using a workflow called proxy editing. Proxies are lightweight, low-resolution copies of your original footage that you use during the active editing phase.

When you are ready to export your final video, your editing software automatically switches back to the high-quality original files. This ensures your final product looks perfect while keeping your editing experience lag-free.
You can easily set up this process by reading the official Adobe Premiere Pro Proxy Guide to understand the technical steps involved. This simple step can turn a frustrating, slow edit into a fast, enjoyable creative process.
The Two-Drive Storage System for Peak Performance
A common mistake is keeping your project files, operating system, and raw footage all on the same internal hard drive. This creates a massive traffic jam for your computer's processor, leading to constant crashes.
Instead, you should use a smart two-drive storage system. Keep your operating system and software on your internal computer drive, but move all raw media to a fast external solid-state drive (SSD).
Just like choosing clean fuel and focusing on [why whole foods are your liver-s best natural defense] keeps your physical body running smooth, using fast external SSDs keeps your editing software running at its peak performance. It prevents your computer from overheating and keeps your timeline running at a steady frame rate.
For your working drive, look for an external SSD that connects via USB-C or Thunderbolt. These drives have read and write speeds fast enough to handle multiple video streams without a single skip.
For your long-term storage, you can use cheaper, larger mechanical hard drives. You can read more about these drive speed differences in the Seagate Storage Guide for Video Editors to make an informed choice for your budget.
Automating Your Renaming Workflow
If you have hundreds of files to rename, doing it one by one is an absolute waste of your creative energy. Fortunately, both Windows and Mac operating systems have built-in tools to automate this task.
On a Mac, you can select all your clips, right-click, and choose Rename. This tool allows you to find specific text and replace it with clean, organized names in just seconds.
If you are using Windows, you can download free utility tools like PowerToys, which includes a feature called PowerRename. This tool lets you rename thousands of files instantly using simple search rules.

By spending just two minutes setting up an automated tool, you save hours of manual typing. It allows you to jump straight into the fun part of editing without the boring pre-work.
Giving your computer regular breaks from heavy rendering tasks is also a great habit to build. It is similar to how people learn [how to safely start intermittent fasting-a complete guide for beginners] to give their physical systems a clean, healthy reset.
The Hidden Traps That Can Destroy Your Hard Work
When you do not organize your footage properly, you risk falling into several dangerous traps. These mistakes can cost you days of hard work and cause immense emotional stress.
The biggest trap of all is the single-drive disaster. This happens when you keep the only copy of your precious footage on one single drive without any backup.
Hard drives fail all the time, often without any warning signs. If your drive drops or gets corrupted, your entire project is gone forever.
Always follow the 3-2-1 backup rule to protect your creative projects. Keep three copies of your data, stored on two different types of media, with one copy kept in a different physical location or on the cloud.

The Danger of Messy Project Overwrites
Another major trap is failing to save new versions of your project files as you work. Many editors simply hit "Save" on the same file over and over again.
If your project file gets corrupted during a save, you will lose every edit you made. To avoid this, use the "Save As" function to create a new version every few hours.
Name your project files with clear numbers, such as "Project_Name_v1" and "Project_Name_v2." This allows you to easily go back to an earlier version if a client changes their mind or if a file breaks.
Making these repetitive folder mistakes is like repeating those [7 daily skincare mistakes making your acne breakouts worse] that ruin your skin over time without you realizing it. The damage builds up slowly until you face a sudden, painful disaster.
The Audio Sync Nightmare
Failing to sync your high-quality microphone audio with your camera video before you start cutting is a massive mistake. If you start slicing up your timeline before syncing, you will have to sync every single small clip manually later.
This turns a simple ten-minute task into a multi-hour nightmare. Always sync your external audio tracks with your camera audio first, link the clips together, and then start making your cuts.
Most modern editing software can sync these tracks automatically using the audio waveforms. This simple step ensures your actors' lips move in perfect harmony with the sound of their voices.
Your Action Plan for Faster, Stress-Free Editing
Now that you know the secrets of proper footage organization, it is time to put these ideas into action. Do not let this guide sit in your browser tabs without changing your creative habits.
On your very next video shoot, commit to spending thirty minutes organizing your files before you cut a single second of video. You will quickly notice how much faster your brain works when your workspace is clean.
You will feel more relaxed, make better creative choices, and finish your edits in half the time. A clean workspace is the secret foundation of every great video creator.
Take a look at this quick checklist to use before you start your next project:
- Create a master template folder on your fast external SSD.
- Copy your camera files directly into the subfolders.
- Rename your raw clips using a clear name and date format.
- Import your organized structure into your editing software.
- Color-code your timeline clips to identify different angles and assets.
- Back up your project folder to a second drive or cloud service.
By turning these small steps into a daily habit, you protect your creative energy. You can focus entirely on what you love most: making beautiful, engaging videos that connect with your audience.
Creative Process Disclaimer
Disclaimer: The file organization workflows and storage strategies mentioned in this article are general industry recommendations. Individual computer performance, software capabilities, and hardware speeds may vary based on your specific system specifications and user habits. Always test your storage backup systems regularly to ensure data safety.