The Frustration of Cropped Heads and Wasted AI Image Credits:
Imagine spending twenty minutes writing the absolute best prompt for your project. You feel excited, you press generate, and you wait for your beautiful picture to appear.
But when the generation finished, your heart sank. The main character's head is cut off at the top.
The gorgeous background scenery you wanted is squished into a tiny square box. This is a very common problem that almost every AI creator faces.
It is incredibly annoying to waste your monthly generation credits on shapes that do not fit your needs. You might feel like you have no control over the framing.
When you do not know how to change the shape of your canvas, your creative projects suffer. Your social media posts look unprofessional because they get cropped randomly.
We understand this struggle because we have been there too. Let us change that today by looking at how these tools actually handle shapes and sizes.

What Exactly is an Aspect Ratio?
Before we look at the settings, let us talk about what this term actually means. An aspect ratio is simply the relationship between the width and the height of an image.
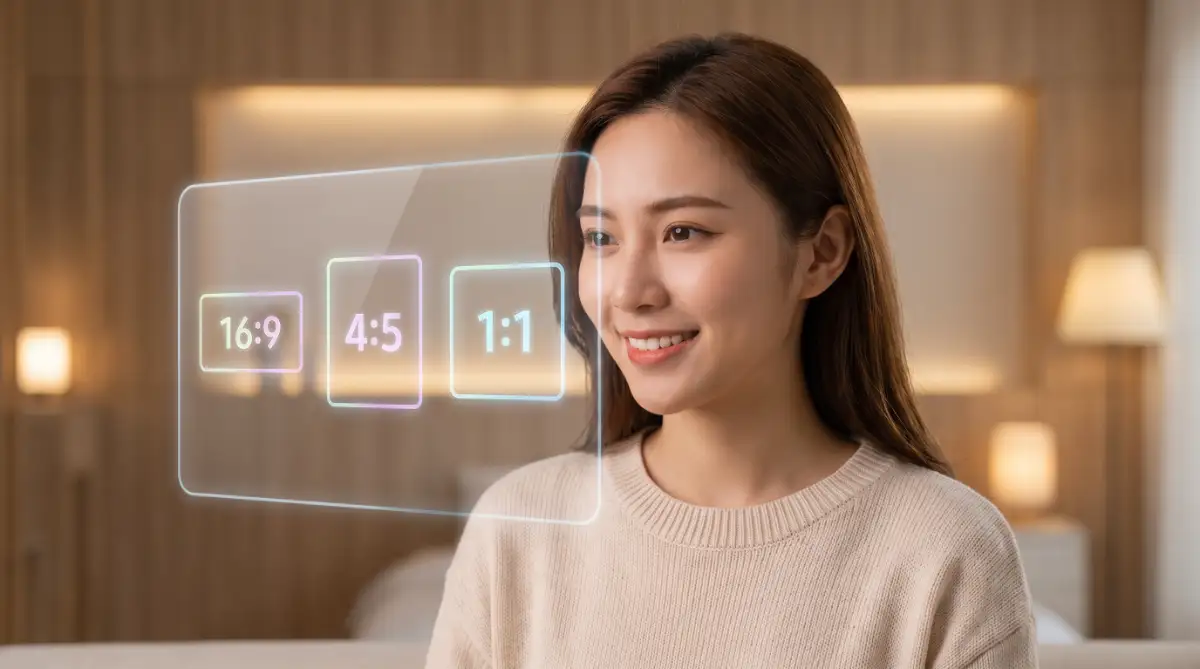
It is written as two numbers separated by a colon, like 16:9 or 4:5. The first number always represents the width, and the second number represents the height.
If you use a 1:1 ratio, you get a perfect square. This is the default shape for most AI tools when you do not specify what you want.
Continue reading>>
Understanding Common Image Shapes
Different projects need different shapes to look their best. Using the wrong shape can completely ruin your composition.
Aspect Ratio Common Use Case Visual Description1:1Instagram Posts, Profile Pictures Perfect Square16:9YouTube Thumbnails, Presentation Slides Wide Rectangle9:16TikTok, Instagram Stories, YouTube Shorts Tall Vertical Rectangle4:5Instagram Feed Images, Portrait Prints Slightly Tall Rectangle3:2Standard Photography, Print Media Classic Camera Frame
Using the correct shape from the very start ensures your main subject fits comfortably inside the frame. It gives your AI model the room it needs to generate details without squeezing them.
How to Adjust Shapes in Midjourney
Midjourney is incredibly powerful, but it does not have a simple button on the screen to change your image shape. Instead, you need to use a simple text command at the end of your prompt.
To change the shape, you must use the --ar parameter. This stands for "aspect ratio."
Step-by-Step Midjourney Setup
When writing your prompt, always add your ratio command at the very end. You must use two hyphens, a space, the letters "ar", another space, and then your numbers.
For example, if you want a wide horizontal photo, your prompt should look like this:
A peaceful cabin in the woods --ar 16:9
If you want a tall image for a mobile screen, you would write:
A peaceful cabin in the woods --ar 9:16
Expert Tip: Always make sure there is a space before and after the double hyphens. If you forget the spaces, Midjourney will show an error message and refuse to start.
Common Midjourney Ratios to Try
- --ar 4:5: Great for general portrait photos and social feeds.
- --ar 3:2: Ideal for realistic camera shots.
- --ar 21:9: Perfect for cinematic, ultra-wide movie shots.
By learning these simple commands, you can stop cropping your work in external editing apps.
Changing Image Dimensions in DALL-E 3
DALL-E 3 works differently than other tools. It does not use code commands like Midjourney does.
If you are using DALL-E 3 inside ChatGPT, the system usually defaults to square images. However, you can change this easily using natural English.
Talking to the AI Assistant
You can simply tell the tool what shape you want using plain words. You do not need to worry about colons or hyphens here.
Here are some phrases you can add directly to your prompt:
- "Create this image in a wide horizontal format."
- "Please make this image vertical for a phone wallpaper."
- "Use a square aspect ratio for this design."
Using ChatGPT Aspect Ratio Buttons
If you use the premium web version of ChatGPT, you might see a settings icon or a crop tool. You can click on these options to select "Wide" (16:9), "Square" (1:1), or "Tall" (9:16) before you even start typing.
This makes the process simple for beginners who do not want to memorize text commands.
Check below more info
Setting Up Custom Ratios in Stable Diffusion
Stable Diffusion offers the most freedom, but it also requires a bit of math. Instead of choosing a ratio, you usually set the exact width and height in pixels.
If you use a popular interface like Automatic1111 or ComfyUI, you will see sliders for width and height.
Pixel Settings for Popular Shapes
Because Stable Diffusion models are trained on specific resolutions, you should stick to standard pixel sizes. If you go too large, the AI might generate double heads or weirdly long bodies.
- For 1:1 Square: Use 512 x 512 pixels (for older models) or 1024 x 1024 pixels (for newer SDXL models).
- For 16:9 Wide: Use 768 x 432 pixels or 1344 x 768 pixels.
- For 9:16 Tall: Use 432 x 768 pixels or 768 x 1344 pixels.
Keep these numbers written down near your computer so you can find them quickly when working.
Common Mistakes People Make with AI Image Shapes
Even experienced digital artists make mistakes when sizing their images. Let us look at a few common myths and the reality behind them.
Myth vs. Reality
- Myth: You can easily change a square image to a wide image later using a basic crop tool.
- Reality: Simple cropping cuts off important parts of your image and lowers the overall resolution. It is always better to generate the correct shape first.
- Myth: AI tools automatically know the best shape for your prompt based on your text.
- Reality: Most tools default to a square 1:1 shape unless you explicitly tell them otherwise.
- Myth: Setting extremely high pixel dimensions in Stable Diffusion makes the image look better.
- Reality: Setting the sliders too high without using specialized upscaling tools often causes terrifying visual glitches.
Simple Scenarios: Which Shape Should You Choose?
To make your life easier, let us look at some everyday situations. This will help you choose the right shape instantly.
Scenario A: You are making a Pinterest Pin
Pinterest is a highly vertical platform. If you post a wide image, it will look tiny and people will scroll right past it.
You should use a 2:3 ratio (like --ar 2:3 in Midjourney). This gives you a tall, beautiful image that fills up the screen and gets more clicks.
Scenario B: You are designing a blog header
Blog headers need to stretch across the top of a computer screen. A vertical image will push your written content too far down the page.
You should use a 16:9 or 21:9 ratio. This keeps the header thin and wide, allowing your readers to see your text immediately.
Scenario C: You are creating a profile picture
Most website profiles use circle frames to show user avatars.
For this, always use a 1:1 ratio. A perfect square ensures your face stays centered when the website crops your image into a circle.
How Frame Choice Changes the Story of Your Image
The shape of your image does more than just fit a screen. It actually changes how people feel when they look at your art.
A wide horizontal frame feels peaceful and open. It is perfect for quiet outdoor scenes, busy city views, or dramatic movie-style shots.
It lets the viewer's eyes slide gently from left to right.
On the other hand, a tall vertical frame feels active and powerful. It draws the eye upward and downward.
This makes it perfect for tall buildings, portraits of single characters, or close-up shots of details. Understanding this artistic difference will make your AI art look much more professional.
Quick Reference Guide for Prompts
Here is a quick cheat sheet you can copy and use right now. It covers the three most popular tools.
Keep this guide open whenever you are working on a new creative project.
Simple Steps to Start Today
Do not let complicated settings stop you from creating beautiful art. Start small by experimenting with just one tool.
Open your favorite AI generator right now. Take your favorite prompt and run it three times using three different shapes.
Compare the results side by side. You will quickly see how changing the dimensions completely changes the look and feel of your creations.
Once you master this simple skill, you will save valuable time and protect your generation credits. You can focus on sharing your unique vision with the world instead of fighting with bad crops.
Master-Level Secrets for Handling AI Image Shapes
When you first start using AI generators, changing the size seems easy. You just type a code or click a box. But as you build more complex images, you will notice that the shape of your canvas actually changes how the AI thinks.
This happens because AI models are trained on real human photographs. The AI model knows that certain things belong in wide frames and other things belong in tall frames. If you understand these hidden rules, you can create much better art.
How Shape Changes the AI's Brain:
When you ask for a wide frame, the AI automatically looks for horizontal elements. It will add extra mountains, trees, or buildings to fill the empty space on the sides. If you ask for a tall frame, the AI changes its strategy.
It will try to stack objects vertically. You will see taller trees, longer roads, or characters standing up. If you write a prompt without considering this, your image will look messy or empty.
When we ignore how ratios shift our visual elements, our entire composition breaks down. This mistake is surprisingly similar to making 7 daily skincare mistakes making your acne breakouts worse—small, hidden habits that cause annoying issues later. You must match your words to the actual shape of your canvas.
The Power of Out painting and Pan Tools:
Sometimes, you generate a beautiful square image, but you need it to be wide. You do not have to throw it away and start over. Most modern generators offer tools to expand your borders.
In Midjourney, you can use the Pan buttons to stretch your image left, right, up, or down[1]. This adds new pixels to the edges without changing the original center. It is an amazing way to fix a tight frame without losing your favorite details.
If you want to understand how the system handles these changes, you can read the Midjourney Aspect Ratio Documentation for technical details[2]. Learning these built-in tools will save you from spending hours in complex editing software.
Balancing Your Pixels Like a Professional
To keep your images looking sharp, you must learn how to balance your pixels. If you make your images too wide without adjusting the height, the AI will get confused. It might start repeating patterns or stretching faces.
Think of your canvas as a dinner plate. If you cram too many heavy foods without enough room, everything spills over. Setting up your canvas with clean parameters is just like finding simple ways fiber can transform your daily digestion to keep everything balanced and moving along beautifully.
Always stick to standard ratios that the AI model is familiar with. This keeps the generator running smoothly and prevents weird visual glitches.
Smart Workarounds for Multi-Character Images
Creating an image with two or three people is incredibly difficult in a narrow vertical frame. The AI will often squeeze them together or draw them on top of each other. This is because there is not enough horizontal space for multiple bodies.
If you need a group photo, always use a 16:9 or 3:2 ratio. This gives the AI plenty of room to place characters side-by-side naturally. You can also add words like "wide shot" or "standing next to each other" to help the generator understand the physical spacing.
Heavy Pitfalls That Ruin Your Beautiful Designs
It is heartbreaking to spend your hard-earned AI credits on images that you cannot use. Yet, many creators fall into the same traps over and over again. They make simple sizing mistakes that destroy their projects and waste their valuable time.
One of the worst mistakes you can make is trying to crop your images after they are generated. When you crop a square image to make it fit a wide banner, you lose more than half of your picture.
The image quality drops, and your main subject gets cut off. You end up with a blurry, pixelated mess that looks amateur.
The Hazard of Forcing Weird Dimensions
Another massive issue is trying to invent your own custom ratios that the AI model does not support. If you try to use a crazy ratio like 57:11, the AI will simply break down.
It will generate split screens, distorted faces, or weird gray borders around your art. You will quickly run out of fast GPU hours and feel completely defeated.
Just as you cannot feed your body junk and expect clean results, you cannot feed your generator bad ratios and expect clean images. Planning your framing is like understanding why whole foods are your liver's best natural defense because good starting ingredients always lead to clean outcomes.
Always respect the limits of the tool you are using. If you are using DALL-E, stick to their official wide or tall options to ensure high quality.
Forgetting Your Final Platform
We often get so excited about creating a beautiful image that we forget where it will live. If you are designing a cover for a YouTube channel, you cannot use a square photo.
If you are creating an Instagram story, a wide horizontal picture will look tiny and unreadable. You must think about your final platform before you write a single word of your prompt.
Learning these rules takes practice and a systematic approach. If you want to build a truly efficient workflow, you must control your creative inputs carefully, much like learning how to safely start intermittent fasting to establish a healthy pattern.
Planning your layout ahead of time saves you from future headaches. You can check OpenAI's Image Generation Guide to see the exact sizing limits for their latest models[5].
Your Action Plan for Perfect AI Ratios
Now you have all the knowledge you need to control your image sizes like a professional. You do not have to accept the default square shapes anymore. You can design gorgeous, wide horizontal views or tall, striking vertical portraits with ease.
To help you practice, we have created a simple plan you can follow today. Use this checklist every time you start a new design project.
The Five-Step Sizing Checklist
- Identify the platform: Decide where you will post your image before you start.
- Choose your ratio: Pick the perfect shape (like 16:9 for widescreen or 9:16 for phones).
- Format your prompt: Add the correct command to the end of your text (like --ar 16:9 in Midjourney)[2][6].
- Match your words to your shape: Use words like "wide view" for horizontal shots or "full body portrait" for vertical shots.
- Check the quality: Look closely at the edges of your finished image to make sure nothing got cropped out.
Start Experimenting Today
The best way to learn is by doing. Open your favorite AI tool right now and try generating the exact same prompt in three different shapes.
You will be amazed at how much the composition and mood change when you adjust the borders.
Keep practicing, keep exploring, and enjoy the process of bringing your digital visions to life!
Disclaimer
This guide is for educational purposes to help you learn digital image creation tools. AI generator interfaces and features change frequently. Always check the official guidelines of each platform to stay updated on their current pricing, credits, and usage rules.